
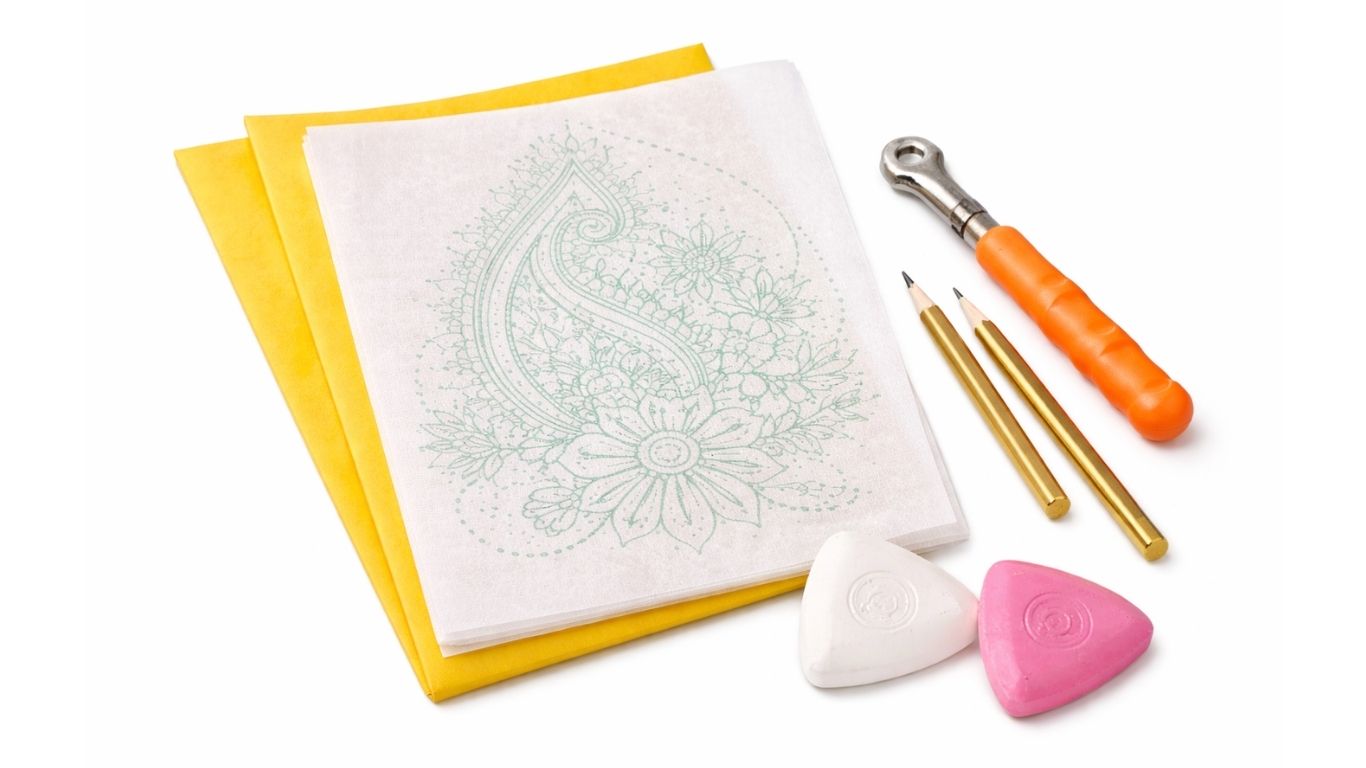
Design transfer materials play an important role in embroidery, Aari work, fabric painting, tailoring, and other textile crafts. These materials help to copy or transfer a design from paper onto fabric neatly and accurately. Without proper transfer, even the most beautiful design can lose its shape and symmetry. Whether you are a beginner or a professional designer, understanding different types of transfer materials makes your work easier, faster, and more precise.
Types of Design Transfer Materials
There are several types of materials used for transferring designs onto fabric. Each type is suitable for different fabrics and work styles.
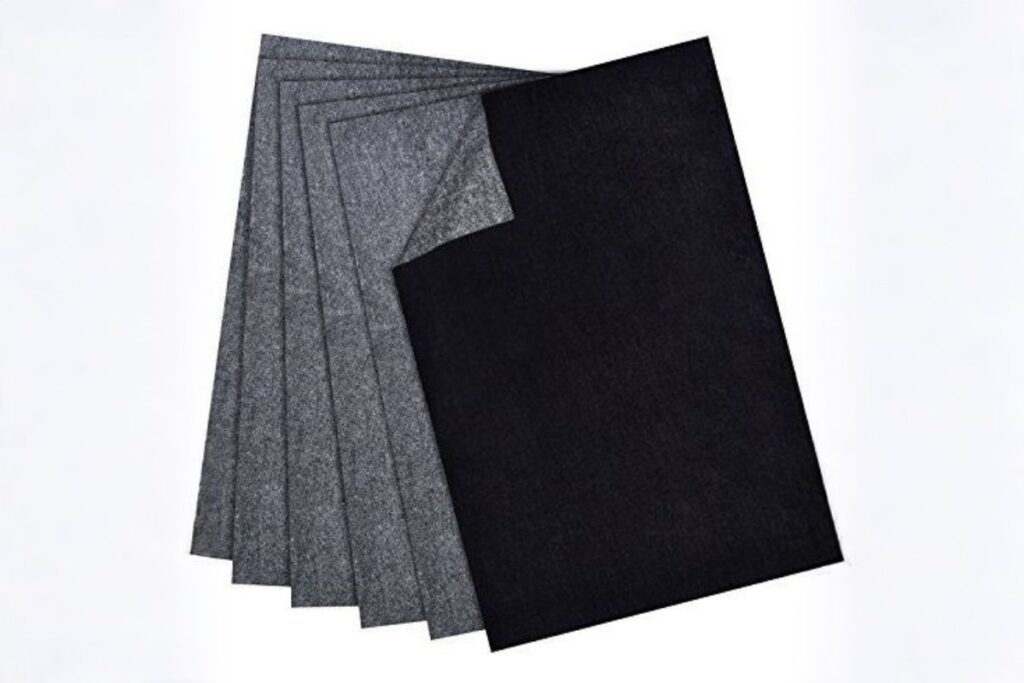
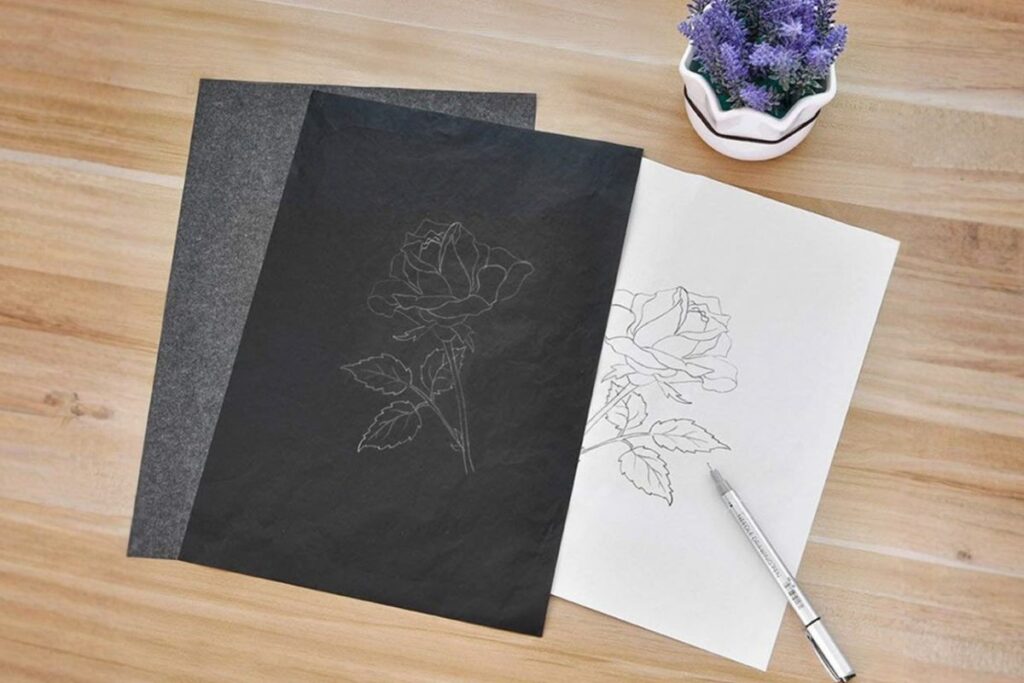
Carbon Paper (Dressmaker Carbon)
- One of the most commonly used materials
- Available in multiple colours like yellow, white, blue, and red
- Suitable for tracing designs on both light and dark fabrics
- Easy to use and widely available
Tracing Paper
- Thin paper used along with carbon sheets
- Helps in outlining the design clearly before transferring
- Ideal for beginners
Butter Paper / Parchment Paper
- Semi-transparent sheet
- Used to copy designs before transferring
- Works well with pencil or pen outlines
Heat Transfer Paper
- Used for permanent design transfer
- Design is printed and then transferred using heat (iron)
- Mostly used in fabric printing and machine embroidery
Water-Soluble Pens and Markers
- Used to draw designs directly on fabric
- Marks disappear with water
- Suitable for light fabrics and temporary markings
Chalk Powder Method
- Traditional method used in Aari work
- Design is pricked and chalk powder is rubbed to transfer
- Best for large and detailed designs
Colour Variations in Transfer Materials
Choosing the right colour is very important for visibility and neat work. Different colours are used depending on fabric shade.
White Colour
Used for dark fabrics like black, navy blue, maroon
Gives clear visibility on dark surfaces
Yellow Colour
Suitable for dark and medium fabrics
Commonly used in Aari embroidery
Blue Colour
Used for light-coloured fabrics
Easy to see without being too bold
Red Colour
Used for medium to dark fabrics
Less commonly used but helpful for specific designs
Black Colour
Used on very light fabrics
Gives sharp and clear lines
Usage of Design Transfer Materials
Design transfer materials are used in many textile and craft applications.
Aari Work
Used to transfer intricate embroidery designs onto fabric
Helps maintain accuracy in needlework
Embroidery
Essential for hand embroidery and machine embroidery
Ensures proper alignment of stitches
Tailoring and Fashion Designing
Used to mark patterns and design placements
Helps in cutting and stitching accurately
Fabric Painting
Used to outline designs before painting
Prevents mistakes and improves finishing
Zardosi and Bead Work
Helps in placing beads and stones in exact positions
Useful for heavy bridal designs
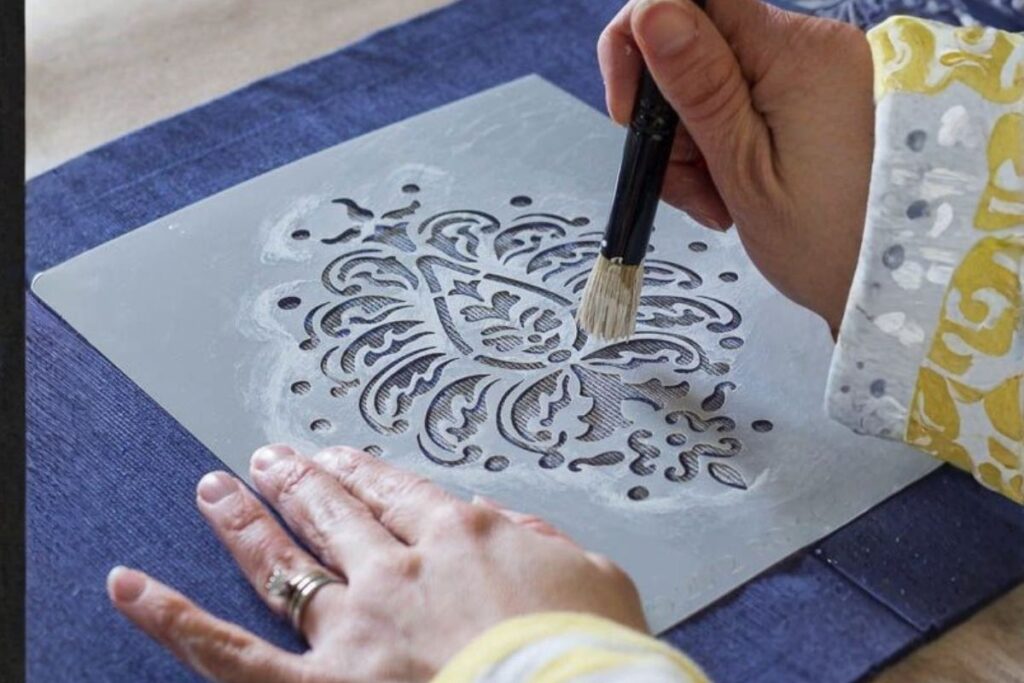
Size Variations of Transfer Materials
Design transfer materials come in different sizes to match various project needs.
Small Size Sheets
Suitable for small motifs and simple designs
Easy to handle and store
Medium Size Sheets
Used for blouse designs, neckline patterns, and sleeves
Most commonly used size
Large Size Sheets
Best for saree designs, lehenga patterns, and large embroidery work
Reduces the need for multiple transfers
Roll Form
Available in long rolls
Suitable for bulk work and continuous designs
Steps to Use Design Transfer Materials
Using design transfer materials is simple, but proper steps ensure clean and accurate results.
Step 1: Prepare the Fabric
Place the fabric on a flat, smooth surface
Make sure the fabric is clean and wrinkle-free
Step 2: Position the Carbon Paper
Place the carbon paper on the fabric with the coloured side facing down
Ensure it covers the area where the design will be transferred
Step 3: Place the Design Sheet
Keep the design paper on top of the carbon paper
Align it properly according to your requirement
Step 4: Trace the Design
Use a pencil, pen, or stylus to trace over the design lines
Apply even pressure for clear transfer
Step 5: Check the Transfer
Carefully lift one corner to check if the design is transferred properly
If needed, retrace lightly
Step 6: Remove Papers
Once the design is fully transferred, remove the design sheet and carbon paper
Avoid smudging while removing
Step 7: Final Touch
Redraw or darken lines if needed using fabric marker or pen
Start your embroidery or design work
Advantages of Using Design Transfer Materials
- Saves time in marking designs manually
- Ensures accuracy and symmetry in patterns
- Suitable for both beginners and professionals
- Works on different types of fabrics
- Easy to use and cost-effective
Common Mistakes to Avoid
- Using wrong colour carbon paper for fabric
- Not fixing the design sheet properly
- Applying uneven pressure while tracing
- Using damaged or worn-out carbon sheets
- Skipping test transfer before final work
Tips for Better Design Transfer
- Choose the correct colour of carbon paper based on fabric shade
- Do not press too hard while tracing to avoid deep marks
- Use masking tape to hold papers in place to prevent movement
- Always test on a small fabric piece before starting final work
- Store carbon papers flat to maintain quality
- Avoid reusing old carbon sheets as they may give uneven transfer
Design transfer materials are simple tools but they make a big difference in the final outcome of any fabric design. By choosing the right type, colour, and size, and by following proper steps, you can achieve neat and professional results in all your creative projects.
Frequently Asked Questions
Design transfer materials are important tools used in Aari work, embroidery, and blouse designing. They help transfer patterns clearly onto fabric and improve design accuracy for stitching, tracing, and detailed embroidery work.